

Managing Projects And Requirements In Anaconda
Managing projects in anaconda: The Workflow
Often, it is important for certain projects and python files that a certain version of a certain module is installed, or even a certain python version.
You might also have cloned a project via git that has no requirements.txt and you start getting tired of installing each and every module manually.
But don’t worry: Here, I will list the steps in order to manage projects in anaconda in a clean, safe way. You will learn how to:
- auto-generate and save
requirements.txtfor a given file / project - create a virtual environment in
conda(A virtual environment is an isolated workspace where you install your packages separate from the main system installation) - install all required packages in the
requirements.txtin that environment That way, we can avoid unnecessary conflicts between versions of packages and python versions.
Using pipreqs to save the requirements.txt of a project or file
1. Install pipreqs
In your terminal, type pip install pipreqs to install pipreqs
2. Save the required modules as requirements.txt of a project
- Using the pipreqs command
pipreqs /path/to/project
Or:
- navigate to the folder of the project in the terminal
- type
pipreqs .to include all packages

Your requirements.txt will be created in the same folder.
Create a virutal environment in anaconda and install requirements.txt
Now that we have a requirements.txt file with required modules, we can install them in a virtual environment using conda.
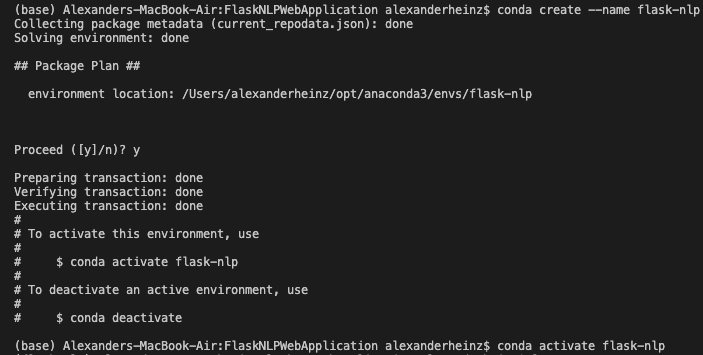
1. Create a virtual environment for your project in conda
-
To create a new environment without and install python on it: type
conda create --name myenv python -
To create an environment with a specific version of Python: Type
conda create -n myenv python=3.9.2(where 3.9.2 is your desired version)
where myenv is your (custom) environment name
- don’t forget to activate your environment using
conda activate myenv
-
You can see all your virtual environments using the command
conda info --envs -
You can remove a virtual environment using
conda remove --name myenv --all(where –all is optional) -
You can deactivate and get back to your base env using
conda deactivate -
See this link for more information about managing environments in conda.
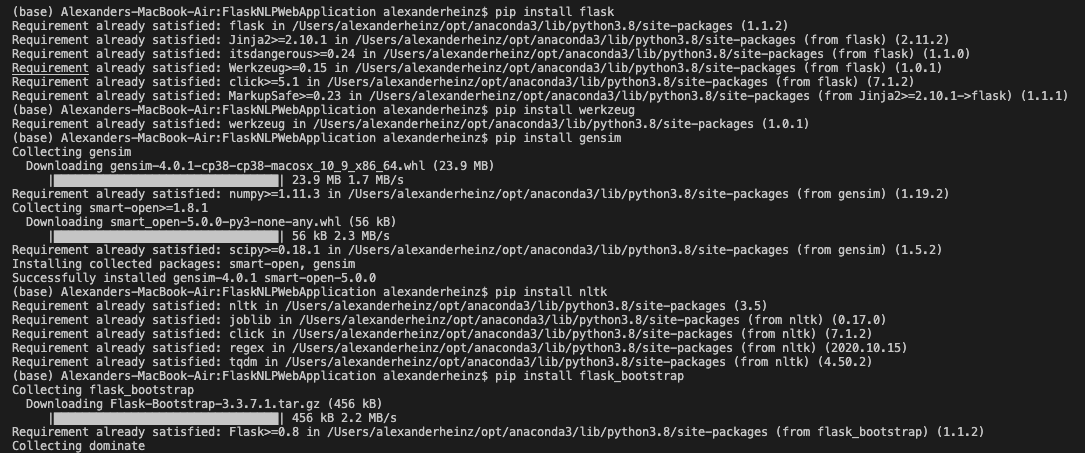
2. Install the requirements in that new environment
-
Just use
python -m pip install -r requirements.txtto install all the required packages in their versions! -
you can check if you’re in the right pip using the command
which pip -
see this link for more information on using pip inside a virtual environment